Support and Documentation
Installing the Printer-Setup Client – Windows
To send a print job to your printer you will need to install the Printer-Setup Client on any computer which has access to both the printer and the internet. We currently support Windows, macOS / OS X and Linux.
You can obtain the latest version of the Printer-Setup Client from our Downloads page.
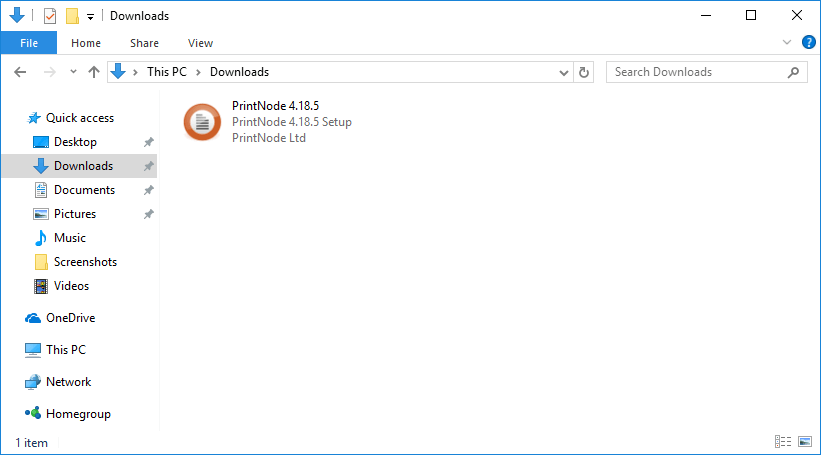
When the Printer-Setup Client installer has finished downloading, run it.

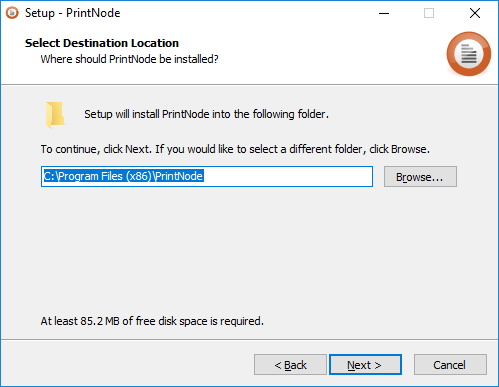
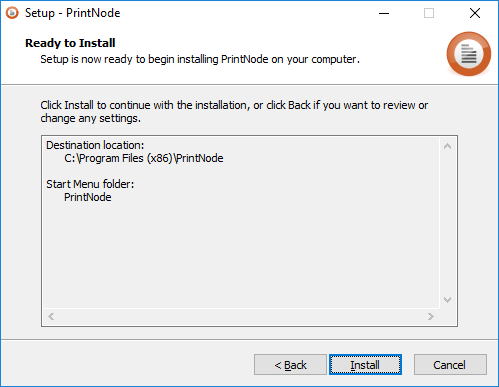
Unless you have a specific need to install to a different location, leave this at the default setting.

If you are installing the Printer-Setup Client on a multi-tenant machine (specifically, with more than one logged-in user) it is best to install it as a Windows Service.
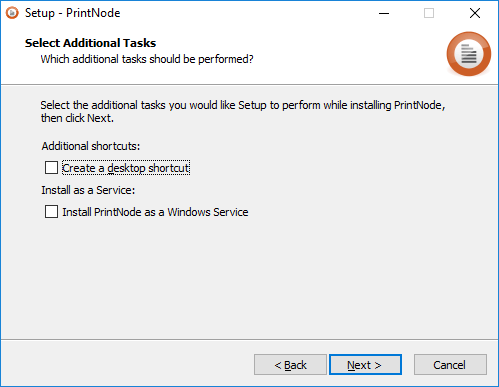
Click Install and wait for the process to finish.
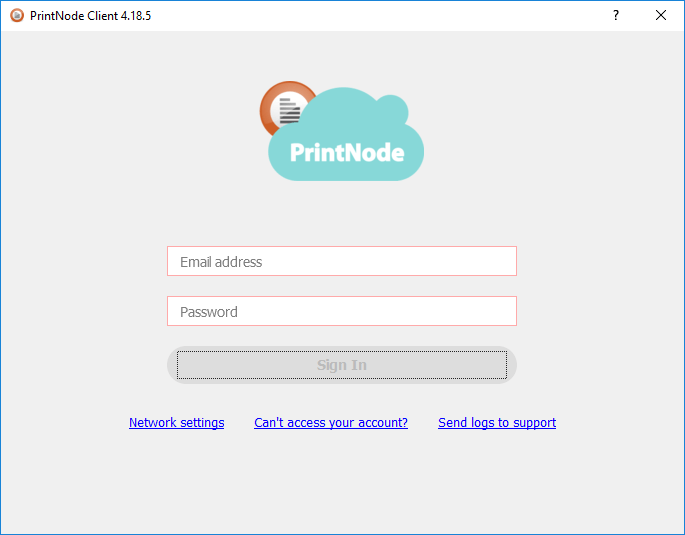
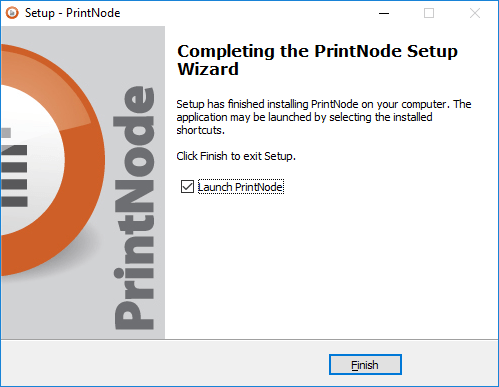
You are now ready to use the PrintNote Client. Click Finish to launch Printer-Setup.
In order to log in to the Printer-Setup Client, you need to sign up for an account – it is free and you don't need to provide any payment information. When you have signed up, enter your email address and password in the Printer-Setup Client login screen.